Signing a Form in Adobe Sign
A “Signer” in Adobe Sign could be anybody required to provide information, including a signature, on a form after the form has been initiated. Adobe Sign will take you step by step through the parts of the form that you need to complete as a signer, but below you’ll find general instructions on how to add information and a signature to a form routed to you. You can also watch the video below on how to sign a form in Adobe Sign.
Video Tutorial:
Step-by-Step Guide:
|
Step |
Action |
Screenshot |
|
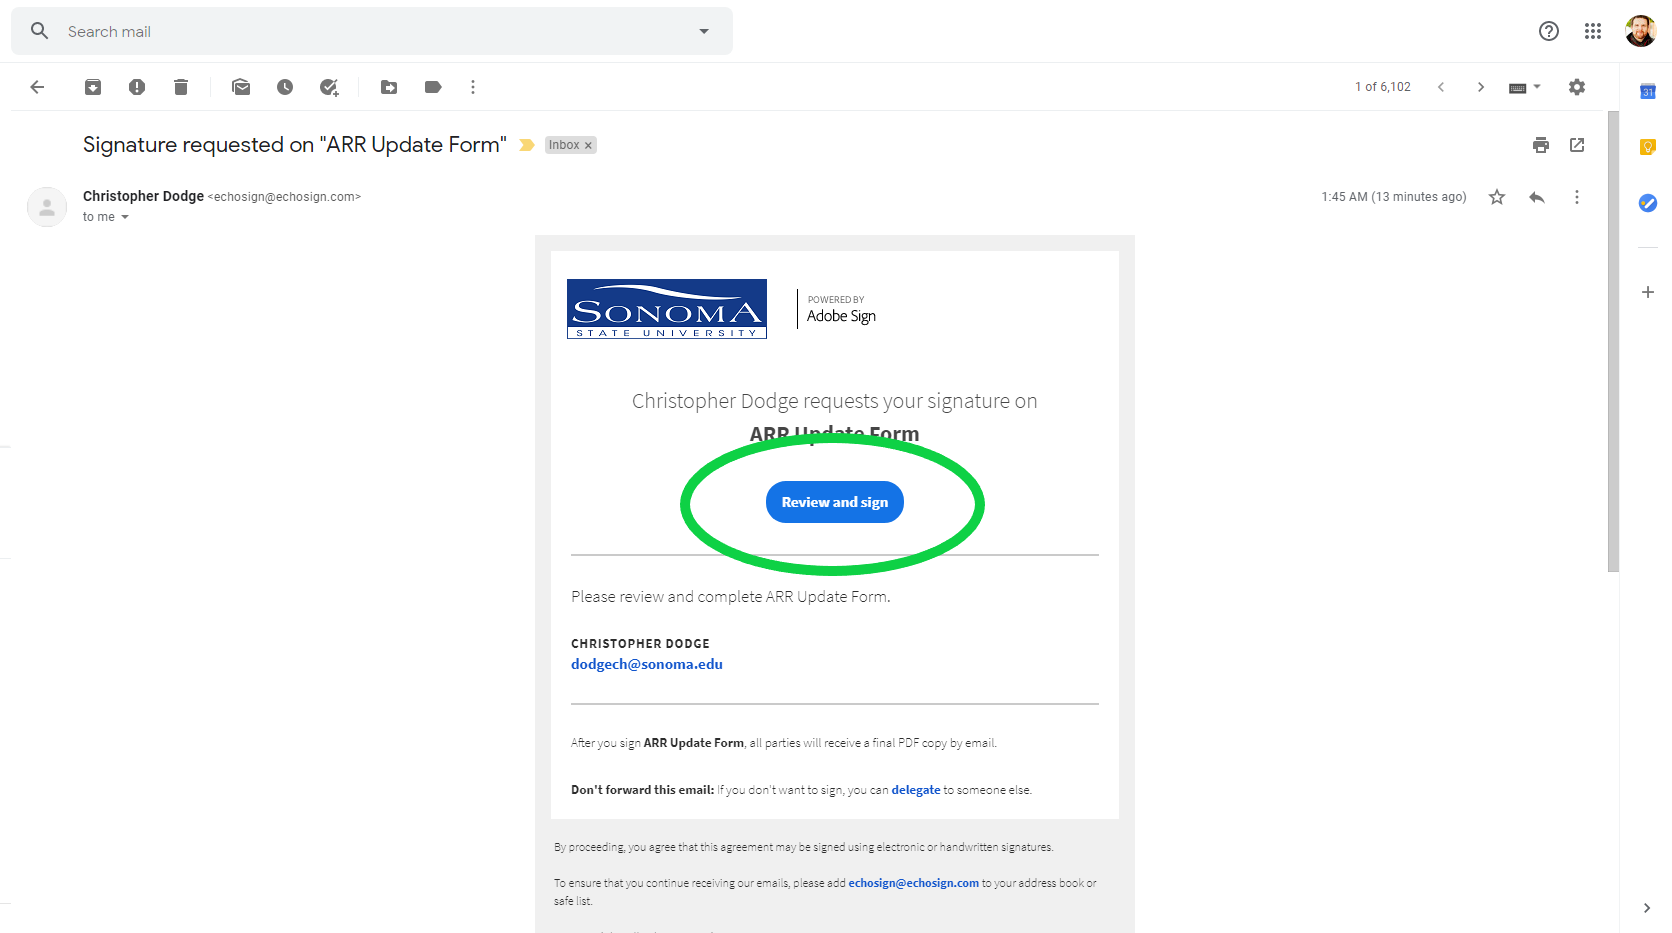
1 |
Receive request for signature notification via email
Note: Be very careful about completing information in the form. Any subsequent changes will generally require that the form be completely restarted through the signing process. |
|
|
2 |
Add Information to the form
|

|
|
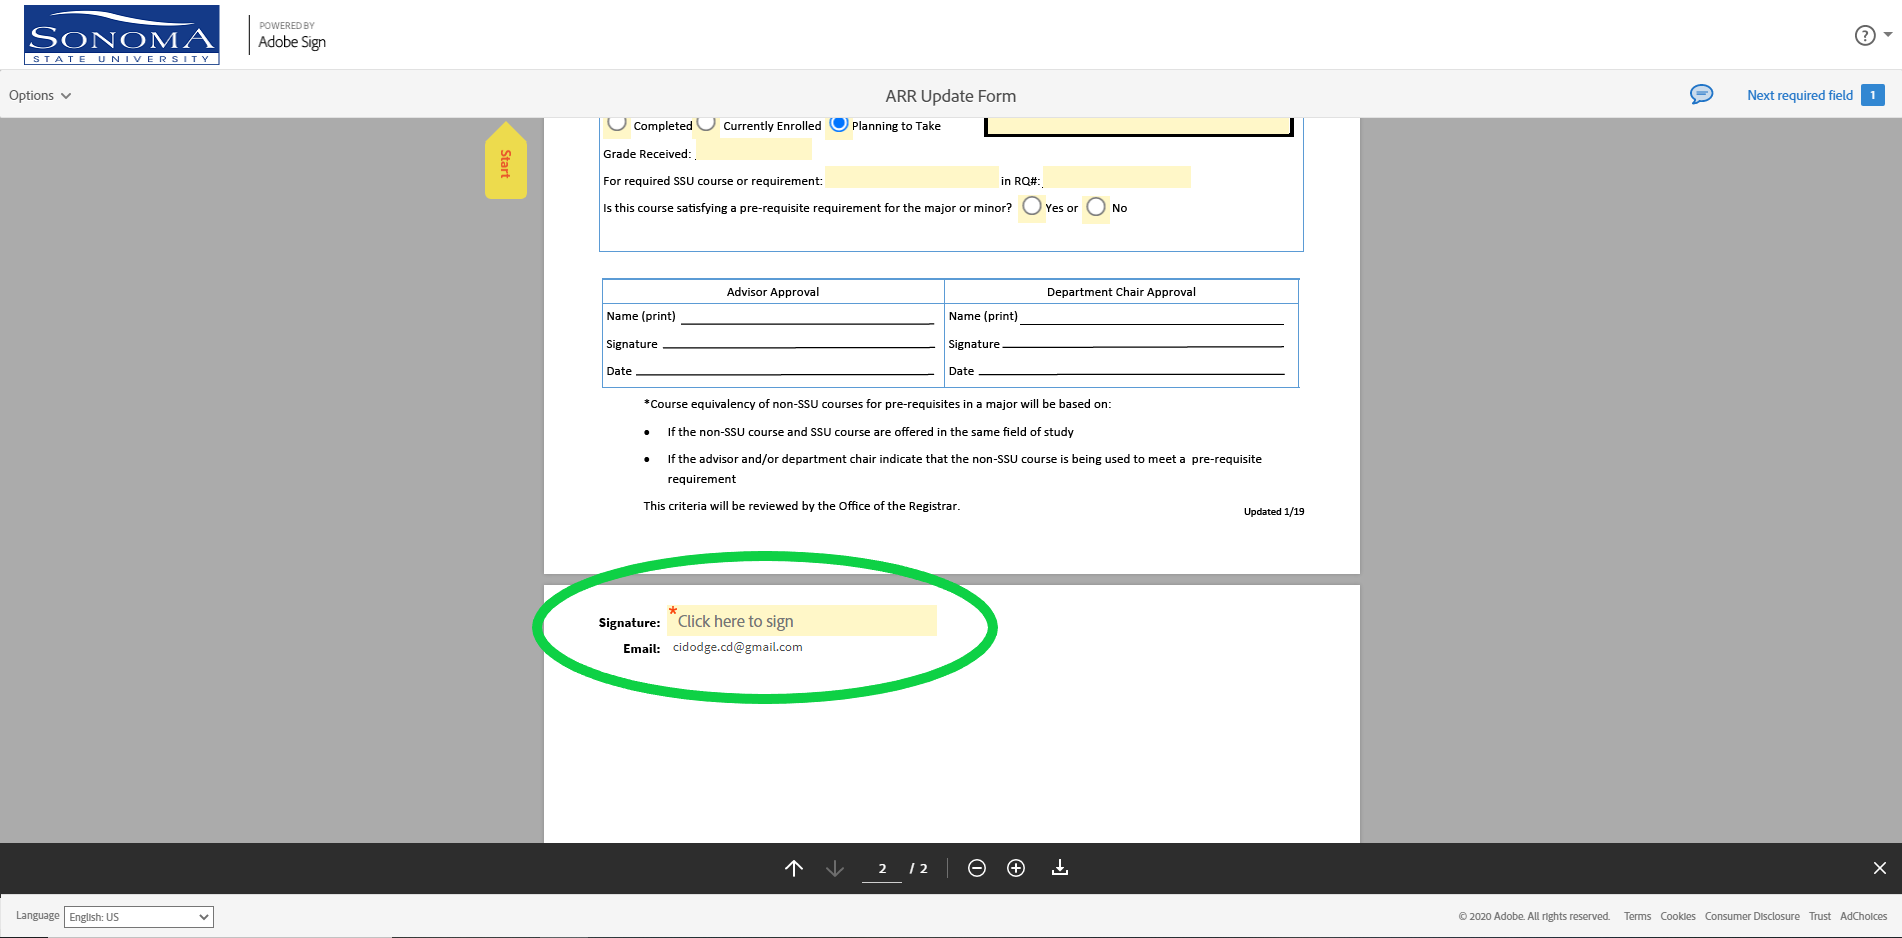
3 |
Signing the form
|
|
|
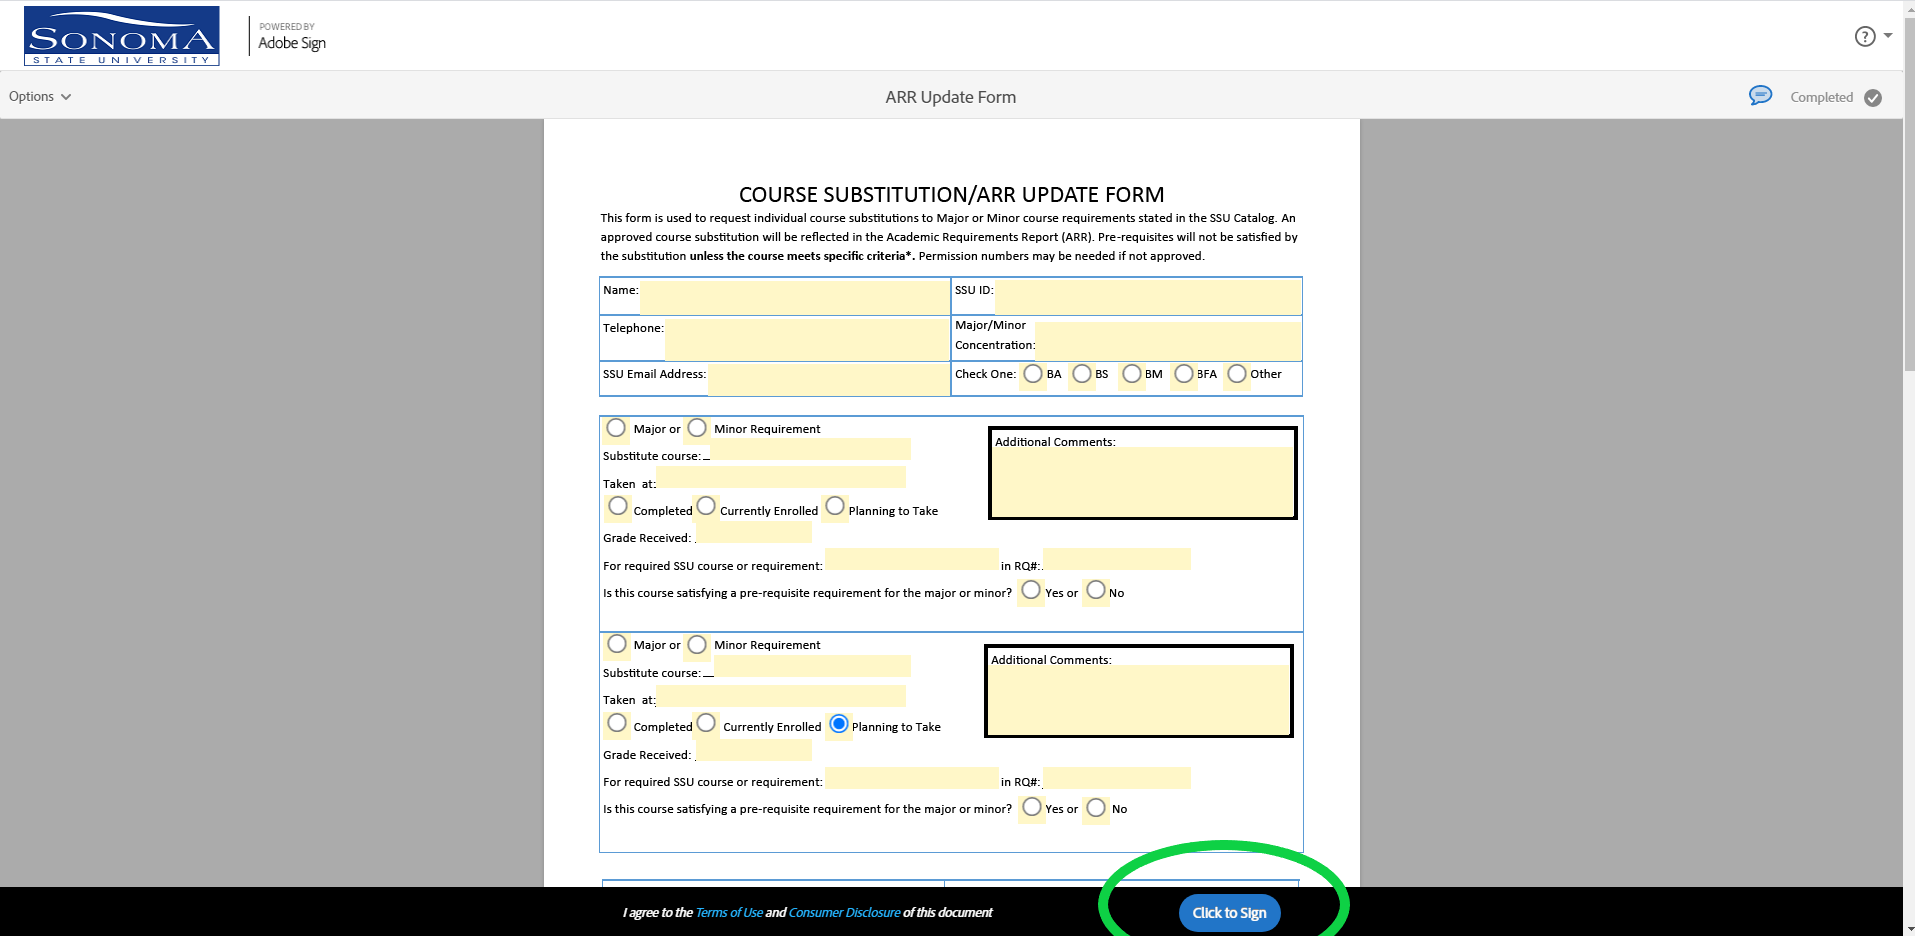
4 |
When you’ve completed all your assigned tags in the form, click the “Click to Sign” button at the bottom of the page. |
|
|
5 |
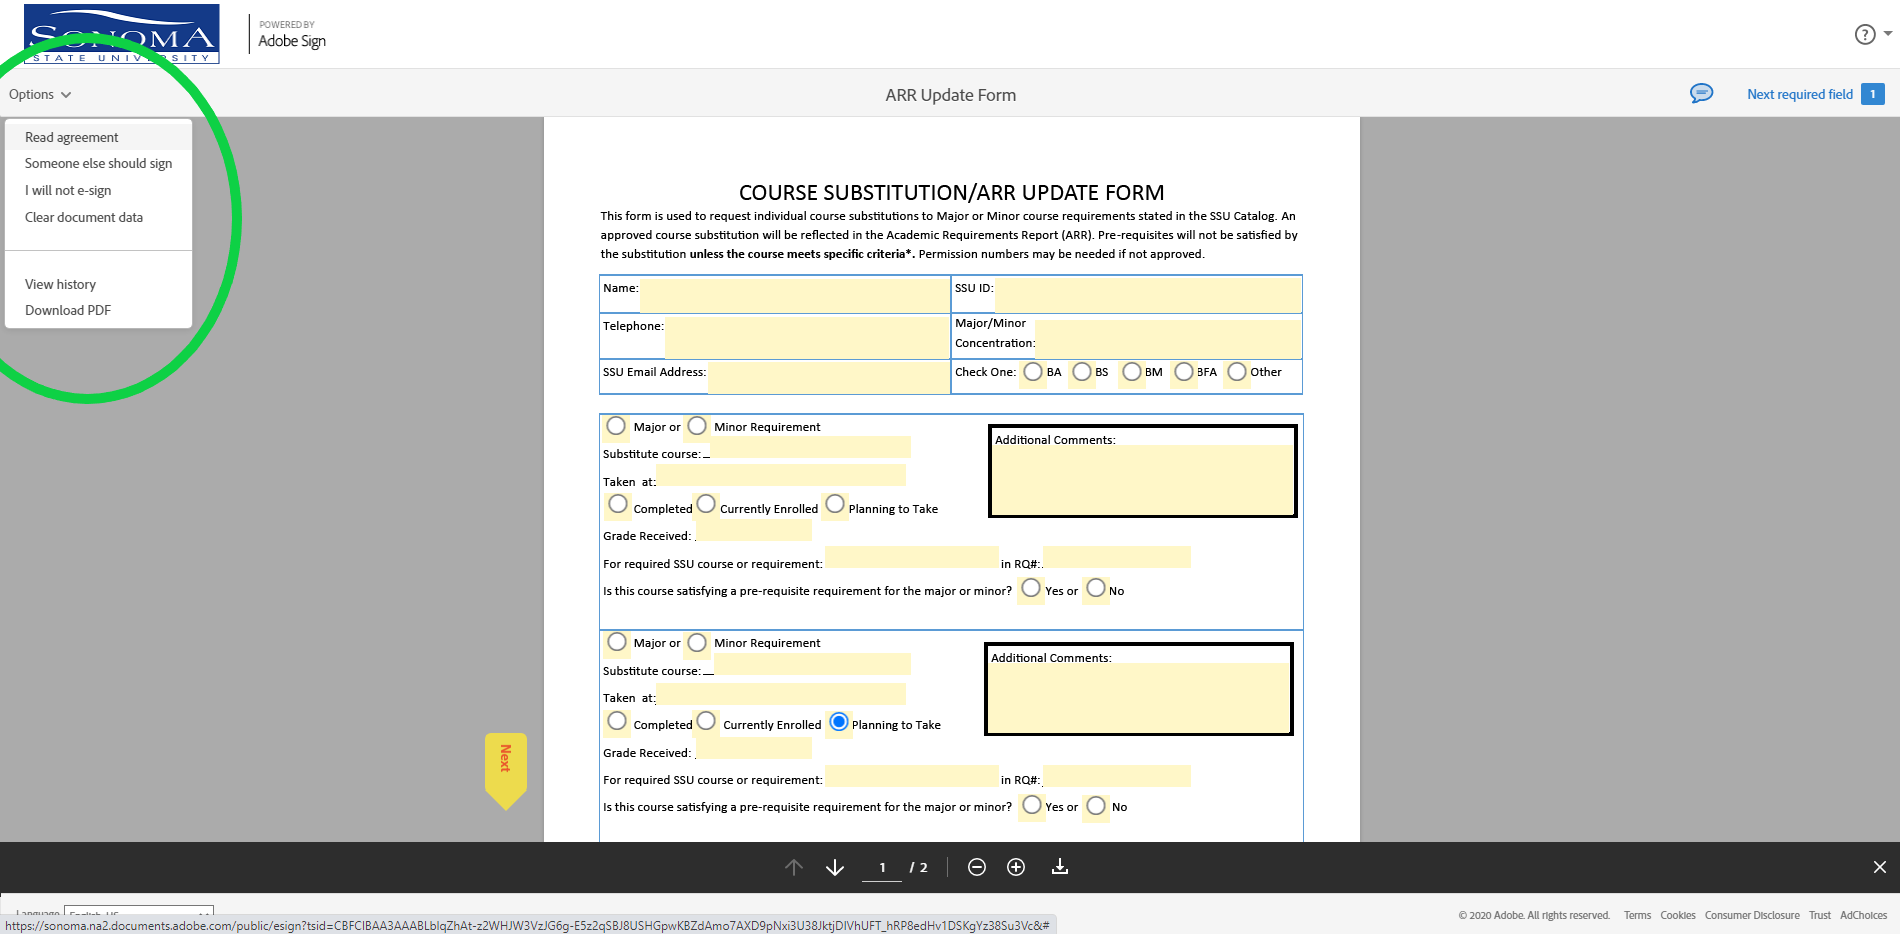
If you do not approve the form, do not sign the form. Instead, click on the drop-down menu at the top of the page titled "Alternative Actions" and select "I will not e-sign". If the form contains errors or needs to be modified, you will need to contact the sender directly to make the changes needed and reroute the form. You can also choose "Someone else should sign" to delegate signing to another email address. |
|
|
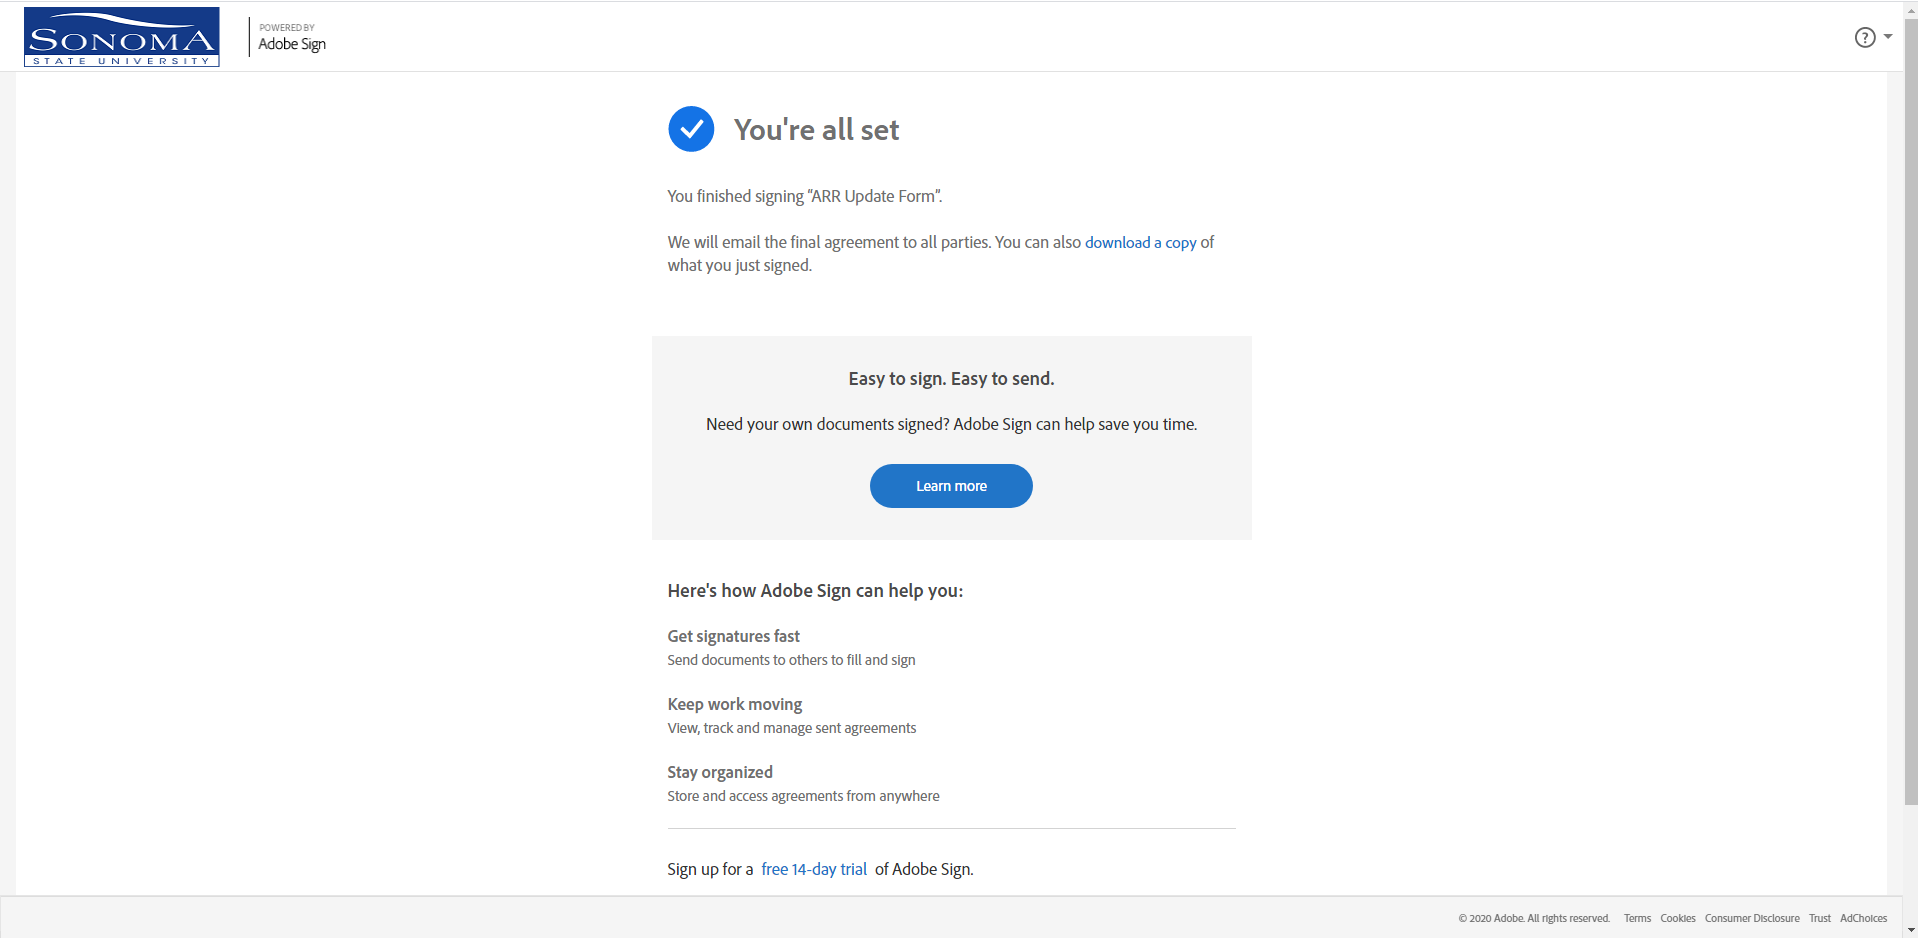
6 |
A message will appear stating that you have completed your review and signing work. The form will now move on to the next assigned reviewer, or if you are the final reviewer, the sender will receive confirmation that the form is complete and will receive a final version of the document in their Adobe Sign account. |
|
You can get more information on how to sign a document from Adobe Sign's support documentation.